Introduction
In the last couple of months, I have been obsessed with automation, workflows and infrastructure as code. This obsession led me to explore tools like Ansible and a little bit of Chef and how to better apply them to my everyday work.
In the last few weeks, I have been experimenting with HashiCorp’s Terraform and I must say, I’m impressed. In this article, I would like to share my findings and also document what I have learnt for posterity.
PS: I’ve created a bootstrapped Vagrant box with Terraform provisioned. You can clone the repository here and follow along.
Terraform, like every other HashiCorp product, has basic commands that can be run from the CLI. But the one most frequently used Terraform command is the terraform apply command. This command allows Terraform to run and communicate with our provider (more on this later). The terraform apply command goes out to our provider and provisions the resources that we have declared in our Terraform scripts. In simple terms, it builds or changes our infrastructure.
While the terraform apply command is great, the problem is that it doesn’t give you an early feedback on what you’re doing, luckily, Terraform provides another command terraform plan which does just that. It allows us to see our infrastructure execution plan. To see a full list of all the available Terraform commands, run terraform --help on your terminal.
The Terraform Syntax - HCL
Terraform’s code is written in HashiCorp’s proprietary language called HashiCorp Configuration Language (HCL). HCL is a structured configuration language that is intended to be both machine friendly and human readable. It’s geared mostly towards DevOps, and in the case of Terraform, its syntax allows us to describe our infrastructure as code. All Terraform codes are written in a file with a .tf extension.
Before we use Terraform and explore its power, we will need to declare a provider. This is the entry point to every Terraform program. At the time of this post, there are well over ten different Terraform providers and they include; AWS, Digital Ocean, Google cloud, etc. For a complete and up-to-date list of providers, visit the Terraform providers documentation page.
Declaring a provider is simple, you start with the keyword provider and provide the name of the provider, e.g; aws, digitalocean, google, etc.
provider "digitalocean" {
  # todo
}
Code I
The code above is how a Terraform provider is declared. That simple. The declaration above by itself does nothing and has very limited use. In order to harness its power and begin communication with the Digital Ocean cloud, we will have to provide a valid Digital Ocean token. This is how Terraform will communicate with our Digital Ocean cloud.
To generate a token from your Digital Ocean account, simply log in to your account, click the API link on your menu, click on Generate New Token button, enter a token name and generate one. Remember to also keep this token safe and secure as bad things can happen if it gets into the wrong hands.
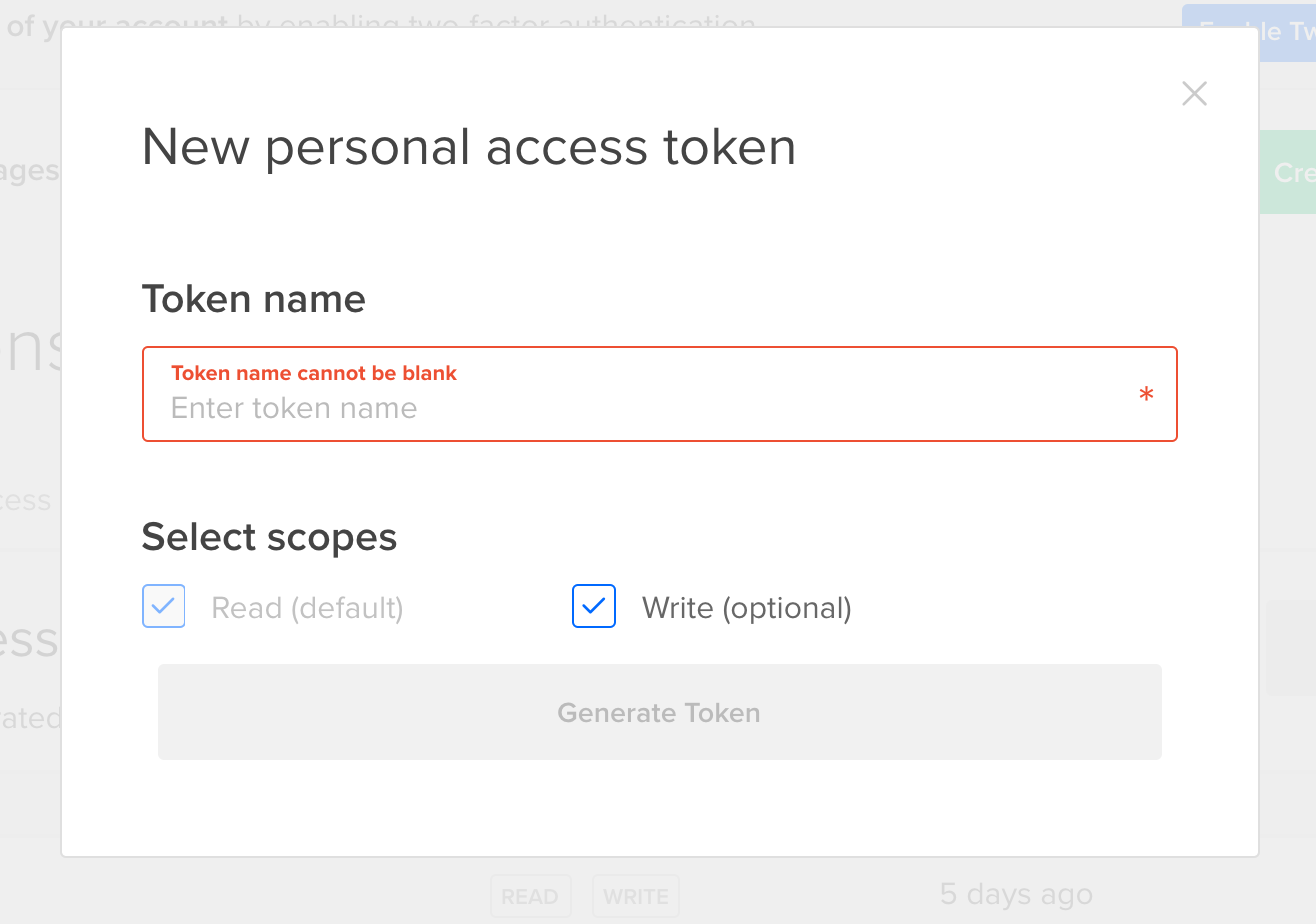 Digital Ocean generate token page
Now that we have our token ready, we will have to extend our initial code in Code I and add our Digital Ocean token like what we have below:
provider "digitalocean" {
  token = "xxxx-xxxxx-xxxx-xxxx-xxxx"
}
Code II
Our work here isn’t done, we have only told Terraform we want to work with Digital Ocean and nothing more. This, by itself does nothing. Now let’s create create some Digital Ocean droplets. Terraform has a concept of a resource, a resource is typically a service offered by your cloud hosting service, a provider, in Terraform’s parlance. These resources include but are not limited to; VMs(EC2, droplets), load balancers, database, cache, etc. To create a Digital Ocean droplet, we will declare a droplet resource and pass along arguments like image type—Ubuntu, CentOS, etc, name—hostname of the machine, region—the DO region where we want this resource to be created, size—size of the droplet.
provider "digitalocean" {
  token = "xxxx-xxxxx-xxxx-xxxx-xxxx"
}

resource "digitalocean_droplet" "web" {
  image = "ubuntu-16-04-x64"
  name = "web-1"
  region = "lon1"
  size = "1gb"
}
Code III
The human readable form of Code III declared above translates to “create a 64 bit Ubuntu 16.04 droplet in the London 1 region and give it a size of 1GB and a hostname of web-1.” It’s worthy of note that some things in the resource declaration above are standard. The resource keyword is standard, digitalocean_droplet is standard, this is how Terraform represents Digital Ocean’s droplets. It varies for other cloud providers, for example, aws_instance for AWS’ EC2 and google_compute_instance for Google’s VM. The web word is arbitrary, it serves the purpose of an identifier in this declaration, as such, you can choose whatever name you’re most comfortable with. The other declaration inside the curly braces are standard and required. For information on how it’s declared for other providers, please consult the Terraform documentation.
With the code above, we have successfully declared a valid Terraform provider and created an associated resource. To run this command and see its effect, we will run terraform plan then terraform apply on our console. At this point, Terraform will initiate a communication link with Digital Ocean and if everything goes well, create us a valid and ready to use droplet. This is a rather simplistic way of doing things and we will be diving deeper in the course of this article.
Variables
In code II, we created a Digital Ocean provider and provided it with an API token. While this gets the job done, it’s not entirely the best way to deal with this problem. This is where the concept of a variables comes in. Like many traditional programming languages, Terraform also has a concept of a variable, albeit declared differently.
In ES6 for instance, a variable can be declared with either the const or the let keyword. Like what we have below:
const name = "Bob Jones";
let age = 70;
Code IV
But things are a bit different in the Terraform land. Every variable is preceded with the keyword variable followed by the variable name and a set of parameters. Terraform’s variables comes in two different flavours; input and output variables. An input variable is used to send values into a Terraform while the output variable prints result from Terraform to the stdout. Input variables can be sent in a different format; command line, from a file and an environment variable.
To create an assign data to a variable we will start with the variable keyword as seen in Code V.
variable "name" {}
variable "token" {
  default = "xxxx-xxxxx-xxxx-xxxx-xxxx"
}
Code V
From the definition in Code V, if we run the Terraform code using terraform plan then terraform apply, Terraform will prompt us to enter a value for the name variable and wouldn’t do same for the second one, token. This is because, in the second declaration, we have provided a default value for the variable which is our Digital Ocean API token and as such, Terraform picks it from there.
If we need to use this variable anywhere, we will have to invoke it like this "${var.token}", so going back to Code II, we can modify the declaration to this format:
provider "digitalocean" {
  token = "${var.token}"
}
Code VI
The advantage here is that we can use this variable in multiple locations without necessarily repeating the API token itself in multiple locations. This provides tremendous power as to how we manage our code.
The output variables follow the same pattern with the input variable with the only distinction being that the output variables uses value in place of default. Below is a sample declaration of the output variable.
output "ip" {
  value = "${digitalocean_droplet.web.ipv4_address}"
}
Code VII
The declaration in Code VII tells Terraform to print the IPV4 address of our droplet to the console.
So far, we have been able to create a Digital Ocean droplet, which is good, but the problem now is that we can’t ssh into our newly minted machine, which is a major issue and will definitely pose a problem for us as we go on. To fix this issue, we will need to add our SSH public key to our droplet. Terraform provides us with an SSH resource aptly named digitalocean_ssh_key. To use this resource we declare it as below:
resource "digitalocean_ssh_key" "default" {
  name = "SSH Key Credential"
  public_key = "${file("/home/vagrant/.ssh/id_rsa.pub")}"
}
Code VIII
With the introduction of the SSH key resource, we will need to link it to our droplet. That way, we can SSH in using our private key. For this to happen, we will have to modify our code in Code III. The code in Code VIII uploads allows SSH public key to our droplet. Also, notice that we didn’t copy and paste our SSH key here, instead, we used a Terraform built-in function called file. The file function lets us read a file from a path. It has a basic syntax of
${file(“path/to/file")}.
If you are using the Vagrant box I provided in this article, I strongly advise that you generate a new SSH key as this box comes without one. Generating an SSH key is simple, simply run this command on your terminal
ssh-keygen -t rsa -b 4096 -C “your email”and follow the on-screen information. I’ll strongly advise that you don’t set a passphrase for your SSH key.
provider "digitalocean" {
  token = "xxxx-xxxxx-xxxx-xxxx-xxxx"
}

resource "digitalocean_droplet" "web" {
  image = "ubuntu-16-04-x64"
  name = "web-1"
  region = "lon1"
  size = "1gb"
  ssh_keys = ["${digitalocean_ssh_key.default.id}"]
}
Code IX
Pulling everything together, we will have something like this:
variable "token" {
  default = "xxxx-xxxxx-xxxx-xxxx-xxxx"
}

provider "digitalocean" {
  token = "${var.token}"
}

resource "digitalocean_ssh_key" "default" {
  name = "SSH Key Credential"
  public_key = "${file("/home/vagrant/.ssh/id_rsa.pub")}"
}

resource "digitalocean_droplet" "web" {
  image = "ubuntu-16-04-x64"
  name = "web-1"
  region = "lon1"
  size = "1gb"
  ssh_keys = ["${digitalocean_ssh_key.default.id}"]
}

output "ip" {
  value = "${digitalocean_droplet.web.ipv4_address}"
}
Code X
If we run terraform plan then terraform apply again, we will have an output similar to this
...

Apply complete! Resources: 1 added, 0 changed, 0 destroyed.

Outputs:

    ip = 46.XX.XXX.XXX
Control and Conditional
Unlike procedural languages, Terraform use a declarative language pattern. If you wanted to create a resource say three times, you will wrap them in a for loop, but in terraform, you will use a meta-parameter like count
It’s important to note that the count meta-parameter that is available to every terraform resource has a zero-based index, similar to arrays in a traditional programming language. So if you had a resource declaration like
resource "digitalocean_droplet" "web" {
  count = 3
  image = "ubuntu-16-04-x64"
  name = "web.${count.index}"
}
Code XI
From Code XI above, we will have 4 web servers created with names; web.0, web.1, web.2, web.3. Note that the names argument makes use of interpolation syntax; ${count.index}.
If we wanted to check the truthfulness of a thing before using a resource, we could use another conditional which is similar to the itinerary operator in a regular programming language. It follows the pattern
condition ? trueval : falseval . Let’s declare a resource that will only be available if a certain condition is met.
resource "digitalocean_loadbalancer" "public" {
  count = "${var.env == "production" ? 1 : 0}"
}
Code XII
From the declaration in Code XII, the Digital Ocean load balancer will only exist if the environment is a production environment. Terraform also support operations like !=, >, <, >=, <= && || !.
Comments
One useful part of Terraform is its support for comments. I’m not going to stress the need for code commenting as this one is pretty obvious. In Code I, we have a #todo, this is an example of a comment and this is a single line comment. Terraform also supports multi line comments and they are wrapped in /* */ as seen below
/*
This is a multi
line comment....
*/
Code formatting
Seth Vargo, Director of Technical Advocacy at HashiCorp, pointed me to the amazing terraform fmt command. What’s so beautiful about this command is that you can write your code without worrying about the age old space and tabs debate. When you run terraform fmt in your project directory, Terraform scans the directory for configuration files and format them in a HCL defined convention. This solves the formatting problem and keeps things consistent while you focus on writting code.
Disclaimer
While following the examples outlined in this article, please bear in mind that there’s a cost attached to it. When you run terraform plan then terraform apply and create a real resource at your provider’s end, they start billing you almost immediately. As a word of caution and this applies only in a non-production environment, always try to clean up after yourself. For this purpose, Terraform offers us a really handy command called terraform destroy. The terraform destroy command literally goes back to your provider and deletes/destroys every single resource that you have created. This is a one-way command and cannot be undone, so I strongly advise you to do this in your personal or experimental environment.
I'll love to hear from you
Do you want to say hello? Email me - celestineomin@gmail.com
I tweet at @cyberomin
If you enjoyed this post, please consider sharing it. comments powered by Disqus